

Install and power up SenseAi Embedded
Mount a SenseAi Embedded at the source, power it over M12, and confirm it booted.
SenseAi Embedded runs the same application as SenseAi. What the sealed IP67 housing buys is placement: the unit can go on the motor or the spindle itself, in coolant and wash-down that a standard SenseAi would not survive. Reading at the source is what adds advanced health analytics on top of machine performance.
Plan on 5 to 45 minutes. The spread is not about the enclosure, it is about whether you can reach the spot you want.
This page ends with a powered device. Getting it onto the network is a separate procedure, in Connect a device to Wi-Fi.
Before you start: have the machine stopped and safe to touch, and know which machine this unit belongs to. Sensors are tied to an asset by IoTFlows during onboarding, so if you are unsure which device goes on which machine, contact support.
Check what is in the box
The box holds two things: the device and one external antenna. The M12 power adapter and the M12 cable are ordered separately, so confirm you have them before you walk out to the machine. The cable is an extension, 1 to 3 meters (3 to 10 ft), for when the adapter alone will not reach the unit.
The full list, with specifications and network requirements, is on SenseAi Embedded.
Inspect before you mount. Check the enclosure for cracks, the antenna connector for damage, and both M12 connectors for bent pins or debris. A bent pin is cheaper to find on the bench than on the motor.
If a part is missing or damaged, stop and contact support.
Connect the antenna
Thread the external antenna onto the device connector and hand-tighten it. Use no tools, and stop when it is snug rather than forcing it.
Connect it before you power the unit on, because without it the radio has almost no range and the device will not hold a connection. Nothing is damaged by powering up without it.
Once mounted, point the antenna vertically and check it clears anything that moves.
Choose a mounting location
Get as close to the source as the machine allows: the motor, the spindle, or the housing that carries them. That proximity is the reason to choose Embedded over a standard SenseAi.
The surface has to meet three tests:
- Ferrous. The magnetic base needs steel or iron. Paint does not matter, the magnet holds through it, but rubber, plastic, and aluminum give it nothing to grip.
- Coupled. The metal must be tied to the parts that move. A guard, a cover, or a panel bolted to the frame passes the sensor its own ringing rather than the driveline's, and the machine then reads as one state all shift.
- Clear. Nothing moving can strike the unit, the antenna, or the cable, and it must not block an access panel or a maintenance point.
Coolant, cutting fluid, and wash-down are not constraints here. The IP67 housing is sealed, so use that to get nearer the source rather than retreating to a dry spot.
 An Embedded unit mounted on the motor itself, with the cable run kept clear of moving parts.
Wipe the surface clean of oil and debris, then set the magnetic base flat against it. Place one edge first and roll the unit down rather than dropping it on, then try to move it by hand to confirm it is seated.
Keep the unit square to the surface, not tilted on an edge or a fillet. A tilt shows up later as a non-zero mean in the vibration KPIs, which you clear with the zero-offset reset in Calibration settings.
If the only reachable spot is non-ferrous, contact IoTFlows for a mounting option rather than settling for a worse location. Whichever spot you pick, calibration is where you confirm it reads the machine.
Connect power
SenseAi Embedded takes 4.5 to 28 V DC over M12. The rating is printed on the device label, which is the authority if a document disagrees.
Connect the M12 cable to the unit first. Align the keyed connector, push until it clicks, then hand-tighten the locking collar. An M12 joint resists vibration only when it is fully seated and locked.
Then power the other end one of two ways:
- An M12 power adapter, into a standard 100 to 240 V AC outlet. Use this unless you have a reason not to.
- An M12 T-splitter, to daisy-chain the unit from power already running to a nearby device. Choose this when several units sit close together and you do not want an outlet for each.
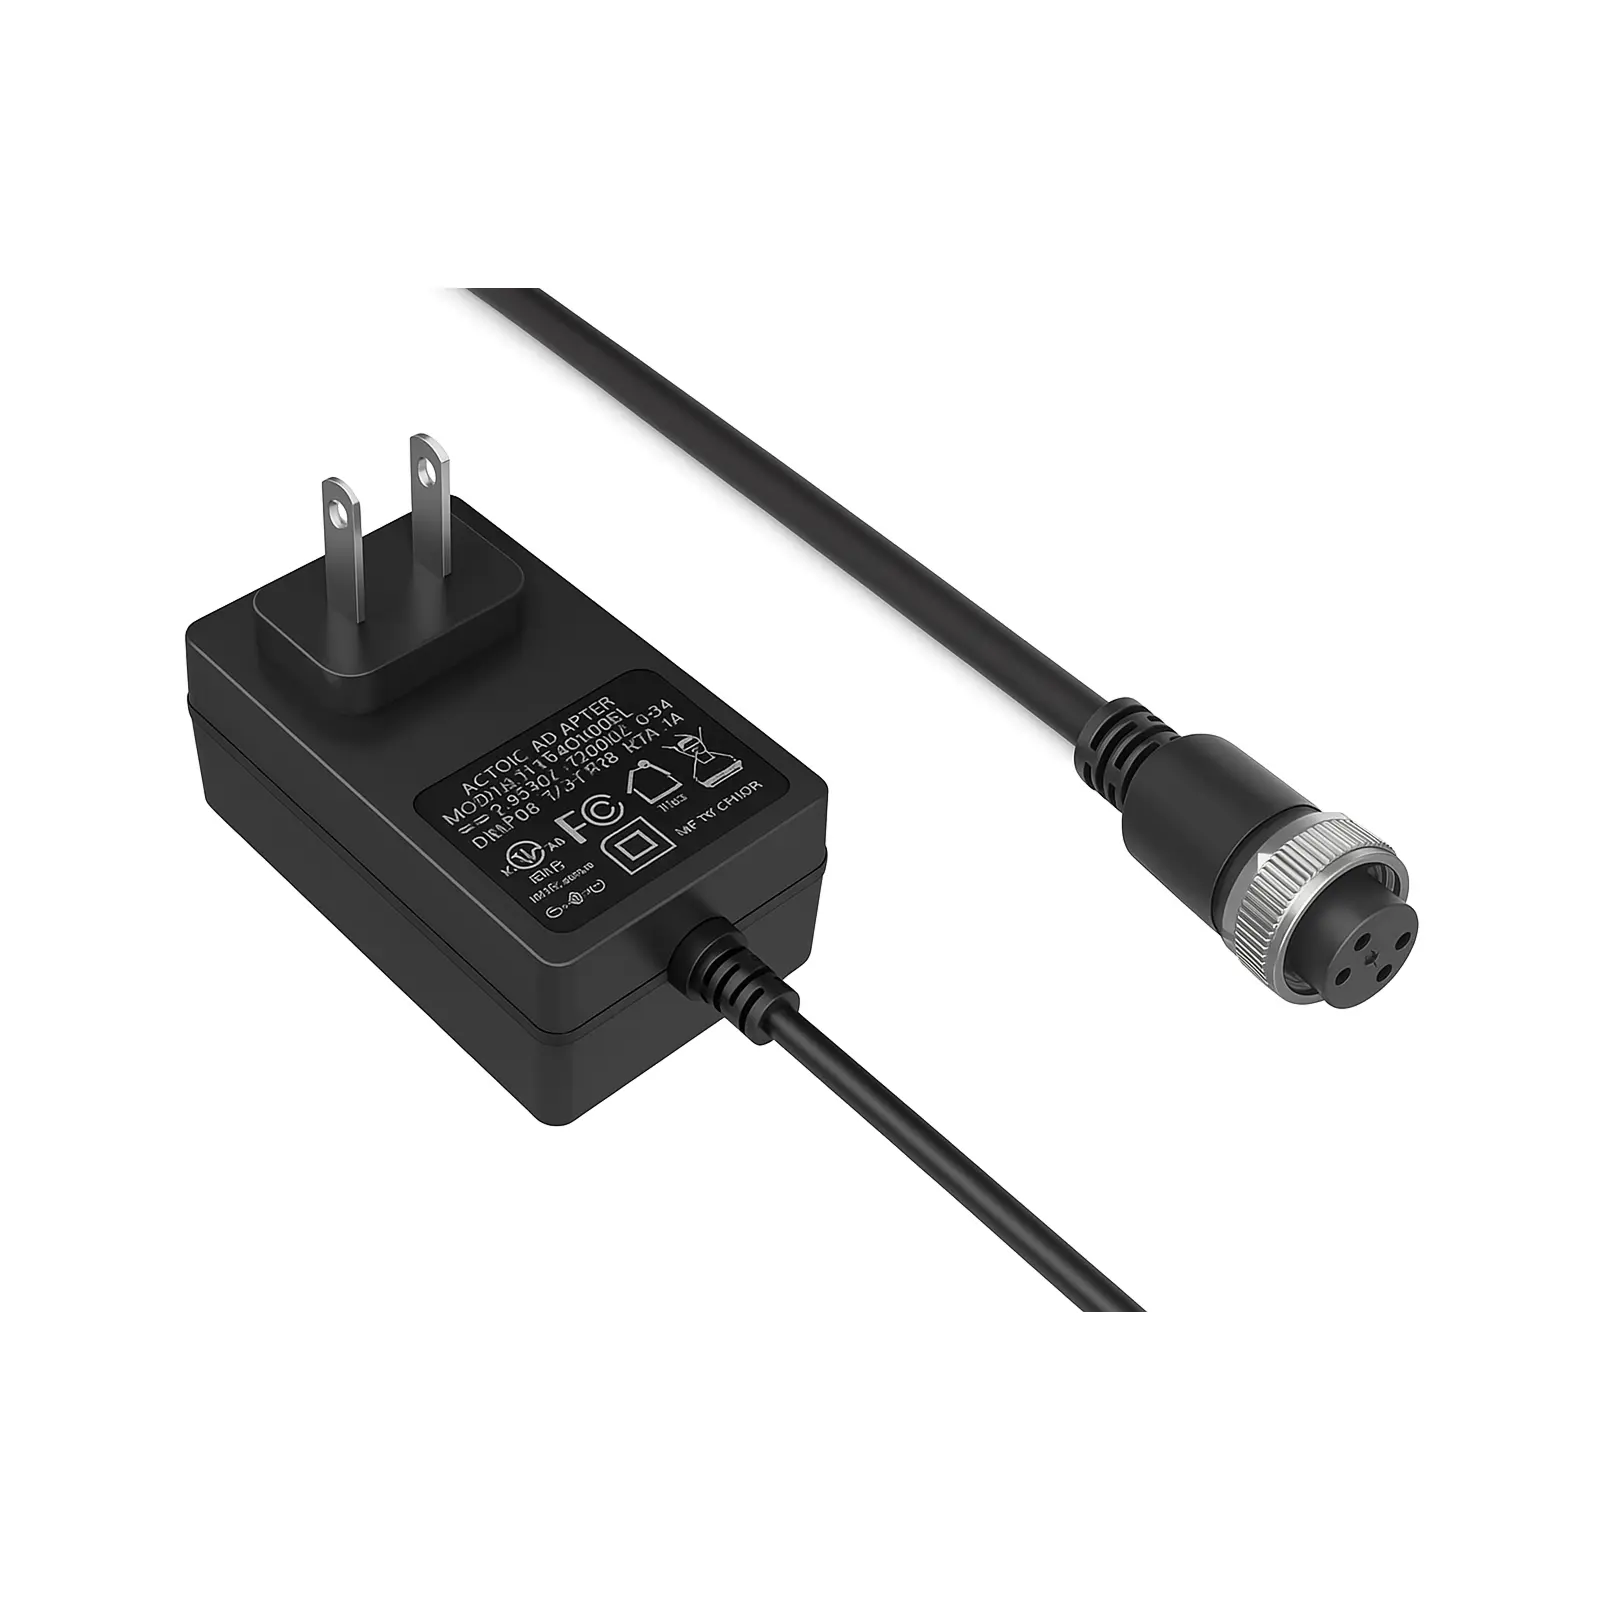
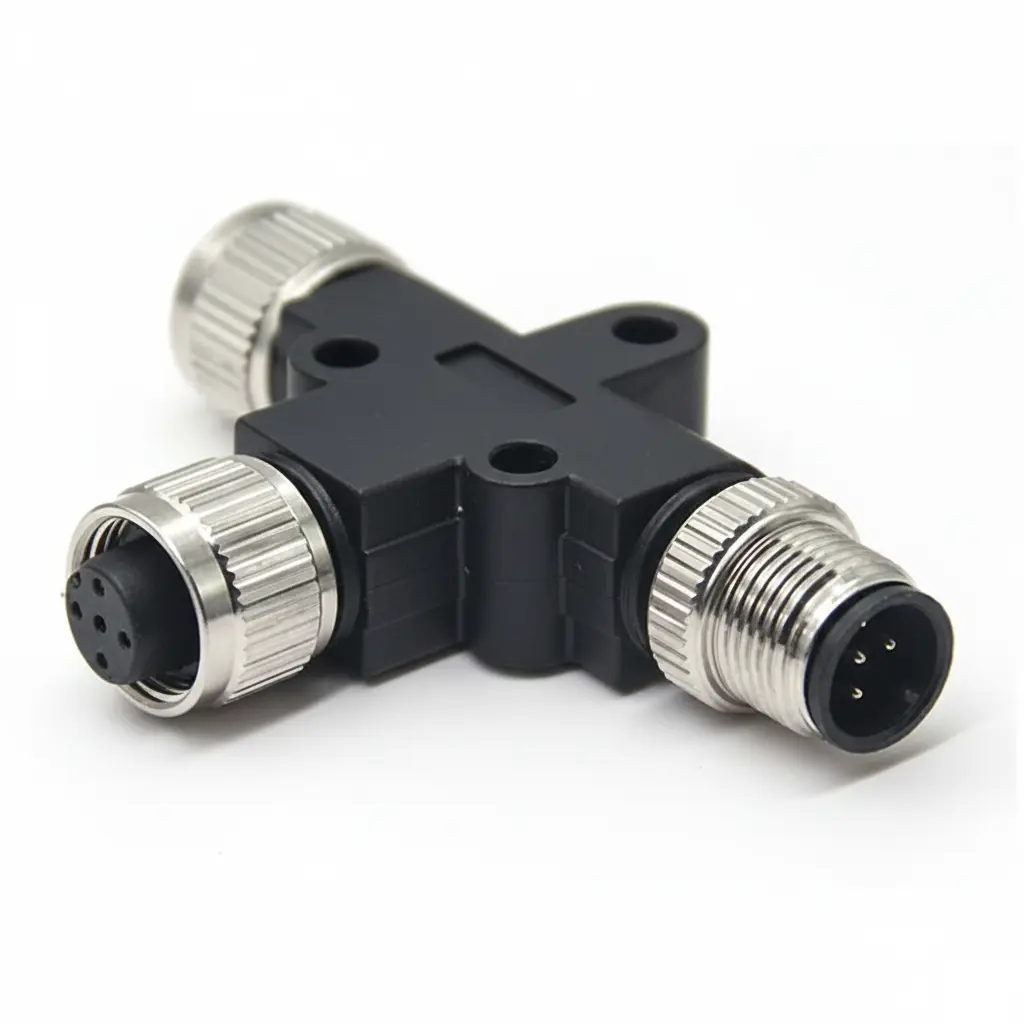
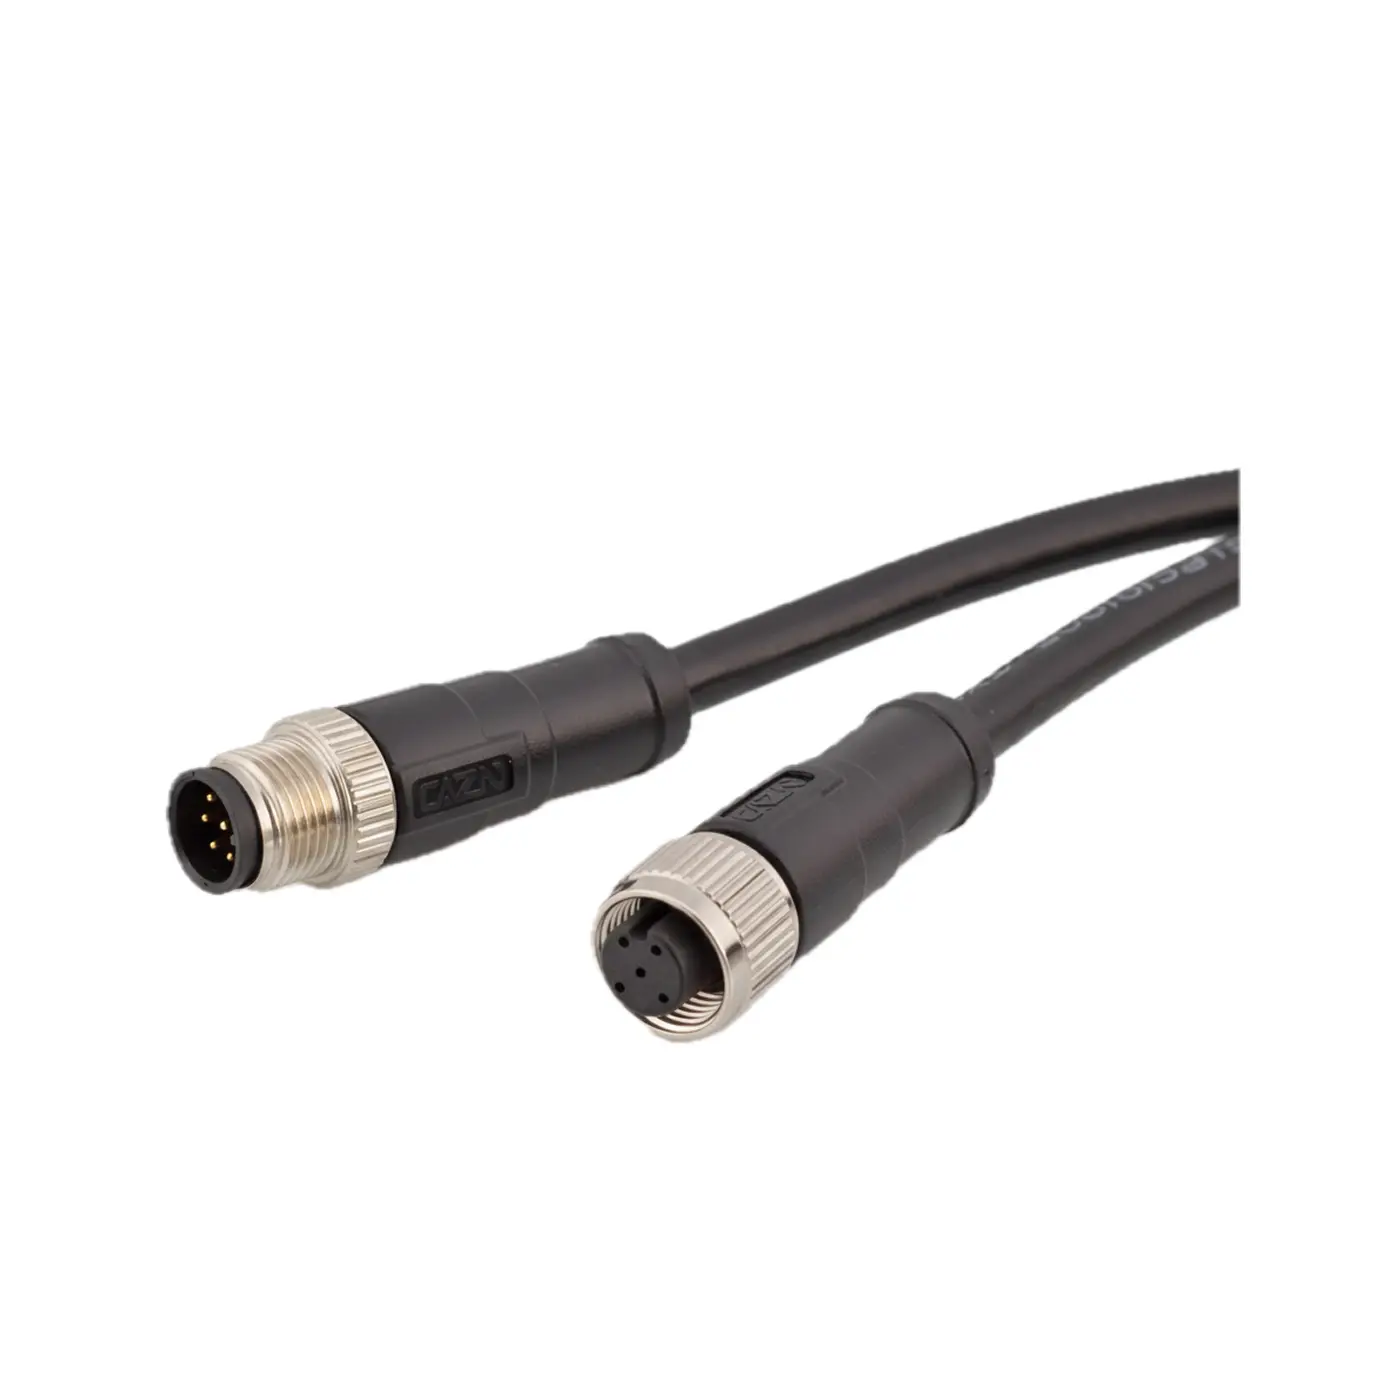 The three M12 parts, all ordered separately from the unit. Left to right: the power adapter that takes a unit to an AC outlet, the T-splitter that daisy-chains power between units, and the 1 to 3 meter (3 to 10 ft) extension cable that runs between them.
Confirm first boot
The power LED lights as soon as the unit has power, and the status LED runs a boot sequence for 30 to 60 seconds. What happens next depends on how this device reaches the internet.
- On an IoTFlows 4G/LTE router: the unit connects on its own, within 2 to 5 minutes. See Connect a device through the 4G/LTE router.
- On facility Wi-Fi: the LED blinks blue, which is Wi-Fi setup mode. Provision it from the mobile app, in Connect a device to Wi-Fi.
 The LED blinking blue at first boot: the unit has power and is waiting to be put on Wi-Fi.
Every pattern the LED can show is listed in LED and screen status codes.
If it will not power on
A dead unit is almost always the connection or the supply. Work through this in order:
- Reseat the M12 cable at the device end and lock the collar.
- Reseat the other end at the adapter or the T-splitter.
- Look into both connectors for bent pins or packed debris.
- Confirm the outlet is live, or that an industrial supply sits within 4.5 to 28 V DC.
If the magnetic base will not hold instead, the surface is the suspect: confirm it is ferrous, then find a flatter or thicker section of the same casting. Thin sheet gives the magnet less to pull against.
If the unit stays dark on a known-good supply, contact support with the device serial from the label.
See also
Mount a SenseAi on a machine and bring it online: connect the external antenna, pick a flat metal surface close to the spindle or main motor, attach the magnetic base square against it, power the unit from the supplied adapter or a machine USB port supplying at least 500 mA, and confirm the LED at first boot.
Mount a BeamTracker across the flow of finished parts and aim its beam: the device is a single unit with no reflector, firing an invisible laser that resolves to the millimetre at up to 8 meters (26 ft), mounted on a separately ordered bracket, powered over M12 at 4.5 to 28 V DC, and set up from its own touchscreen rather than from the dashboard.